Featured products
-

 Sold out
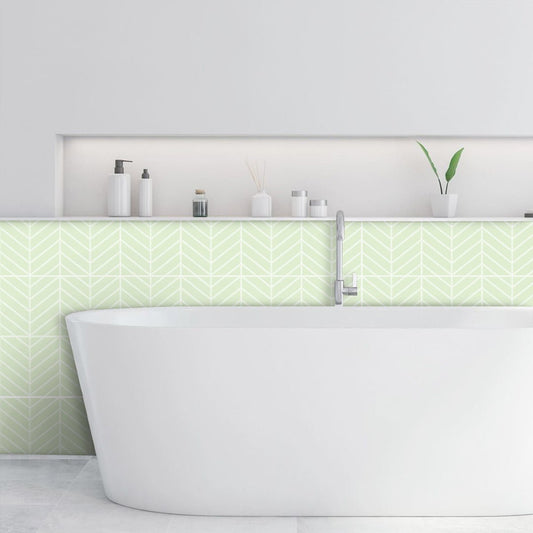
Chevron Stick on Tile (Mint Green)
Regular price From $5.95 AUDRegular priceUnit price per -
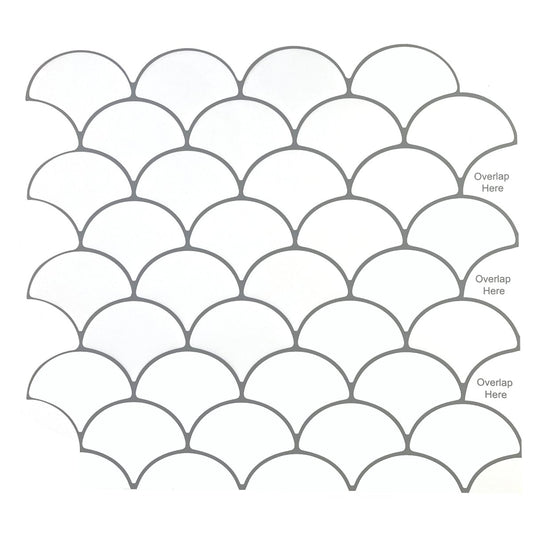
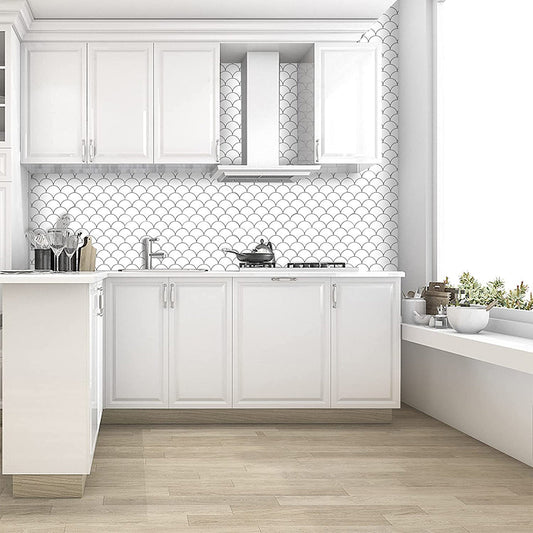
Fish Scale Stick on Tile (White)
Regular price From $6.95 AUDRegular priceUnit price per -
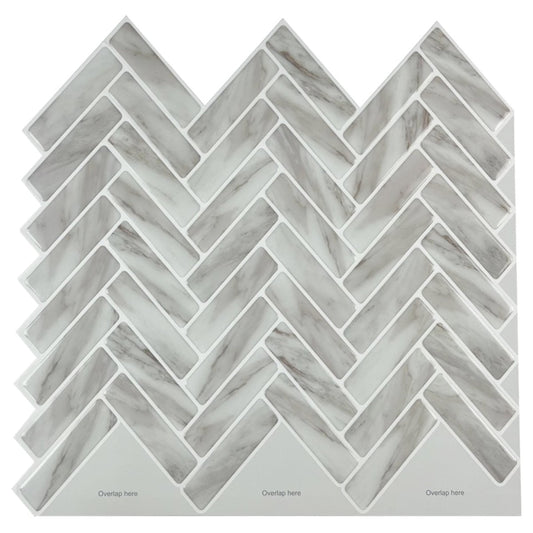
Herringbone Stick on Tile (Grey Marble)
Regular price From $6.50 AUDRegular priceUnit price per -
Herringbone Stick on Tile (Pure White)
Regular price From $5.95 AUDRegular priceUnit price per -
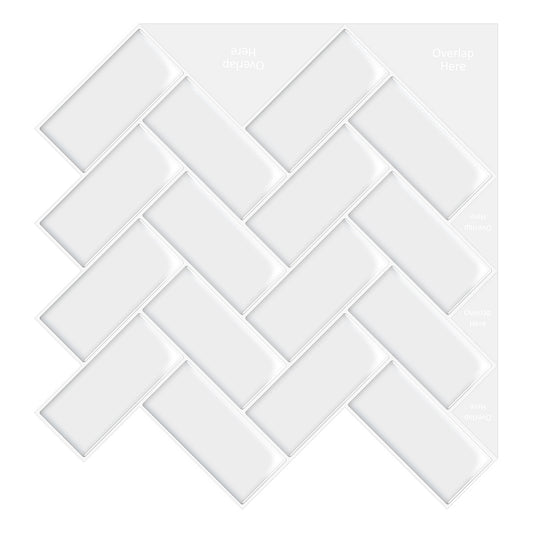
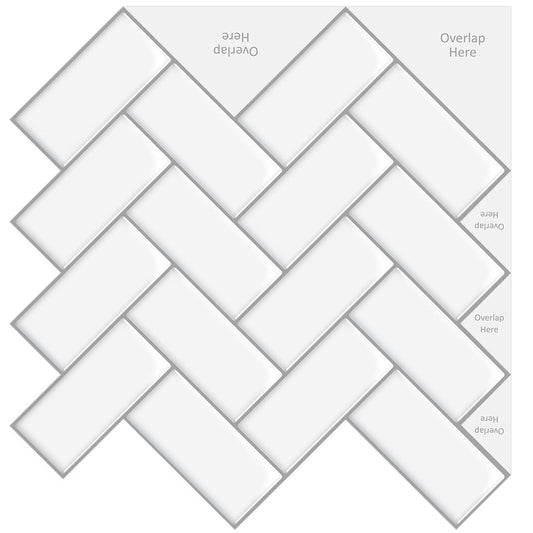
Herringbone Stick on Tile (White)
Regular price From $5.95 AUDRegular priceUnit price per -
 Sold out
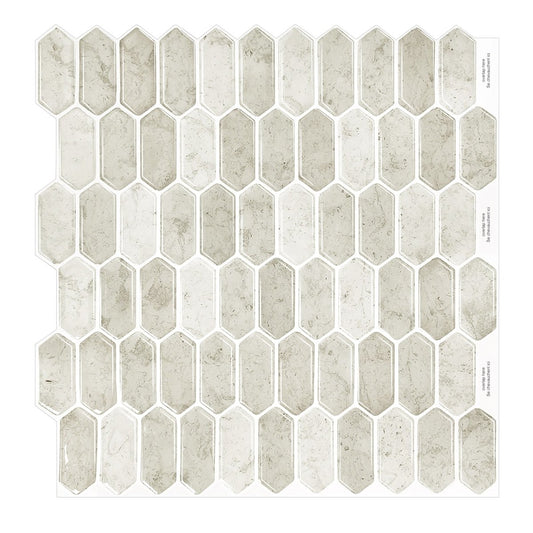
Hexagonal Stick on Tile (Beige/Sand)
Regular price From $6.95 AUDRegular priceUnit price per -

 Sold out
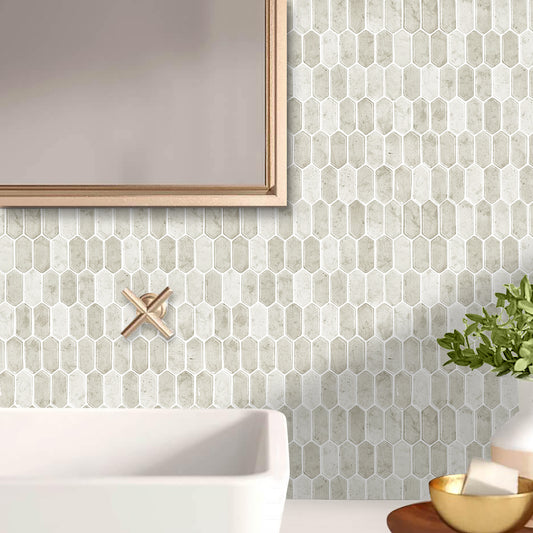
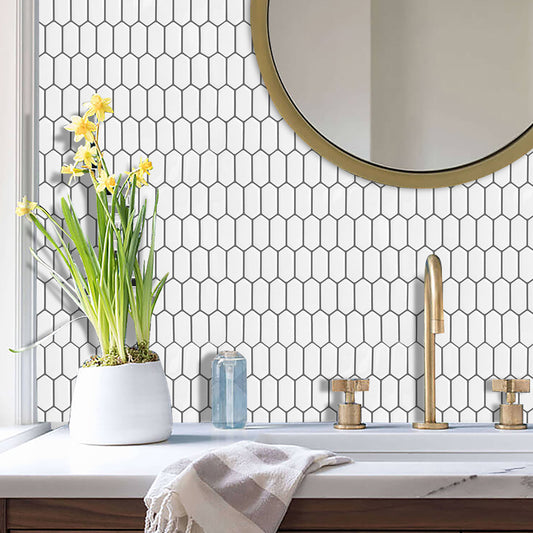
Hexagonal Stick on Tile (White)
Regular price From $6.95 AUDRegular priceUnit price per -
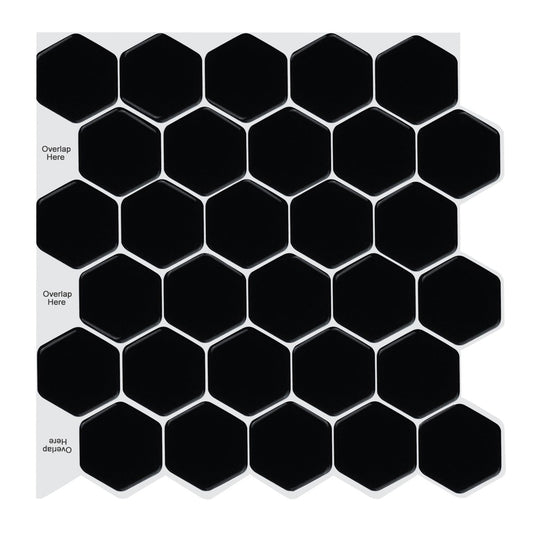
Honeycomb Stick on Tile (Black)
Regular price From $6.95 AUDRegular priceUnit price per


Incredible Adhesive Tiles
If you want to tile your bathroom, kitchen, or laundry or want to modernise and add style and flair to other places in your home, stick on tiles are a cost-effective and easy-to-install option. You simply peel and stick these adhesive tiles, without the need for special tools or expertise. These grout-free adhesive tiles are perfect for DIY projects around the home.
Just Peel and Stick!
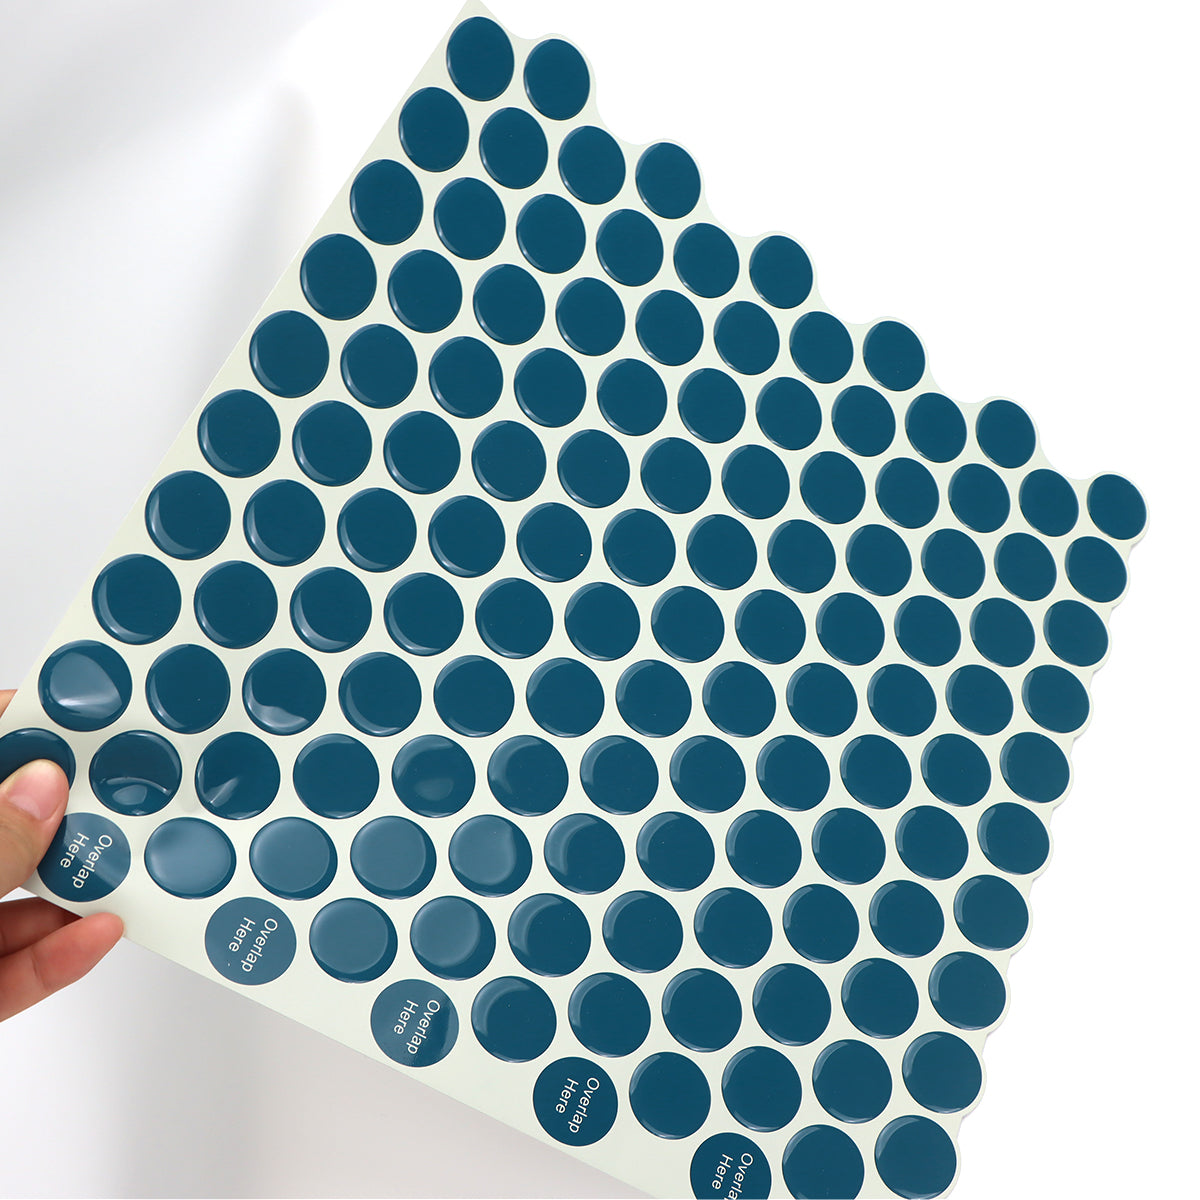
3D Finish and Feel
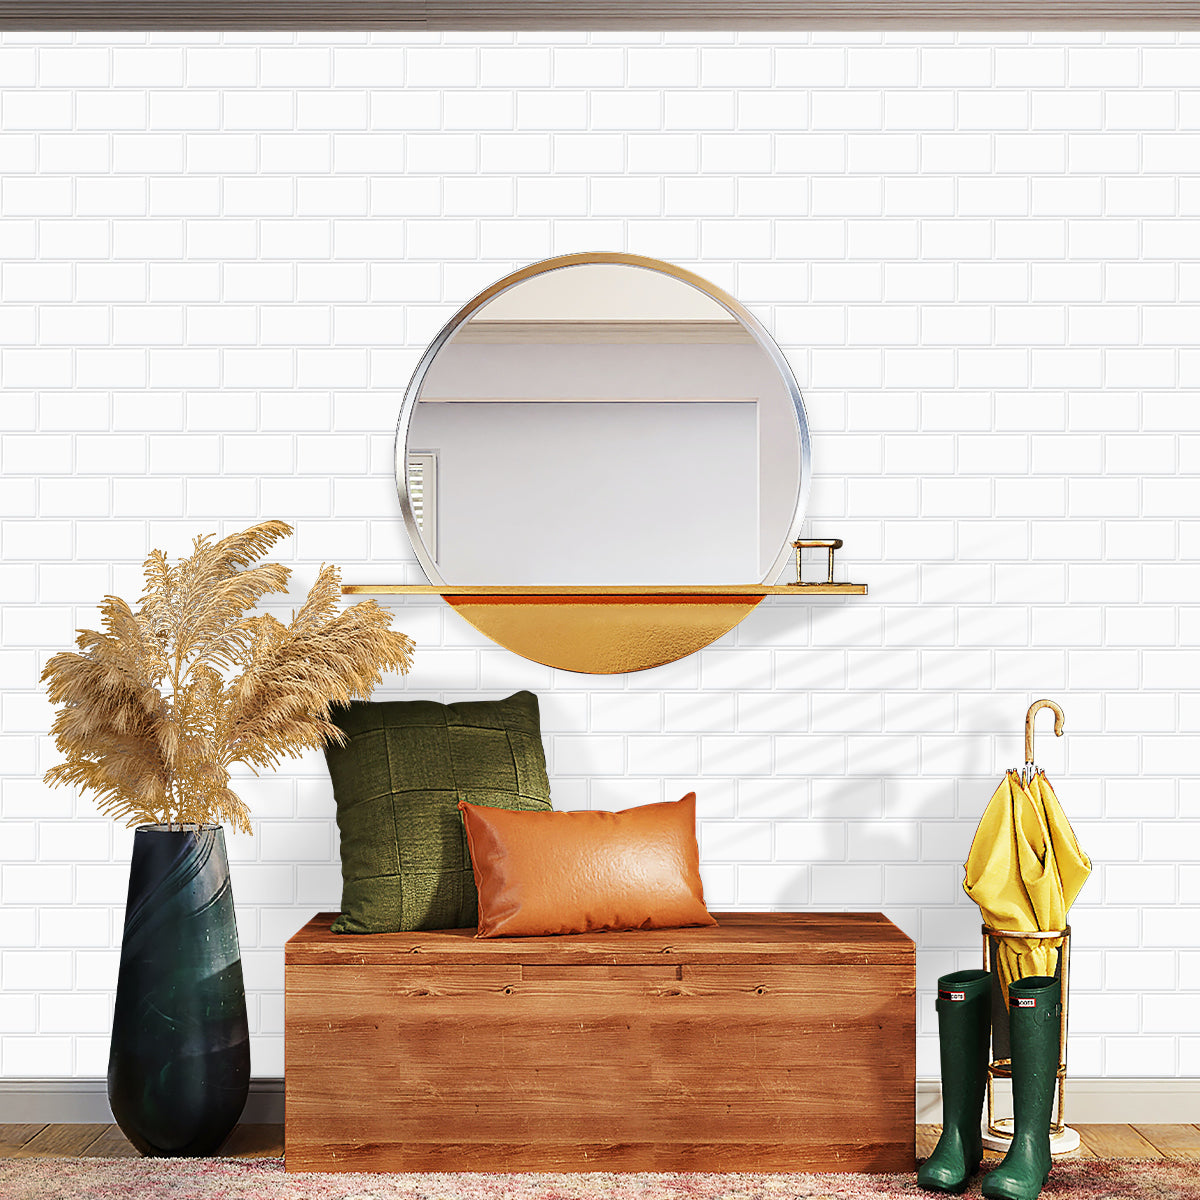
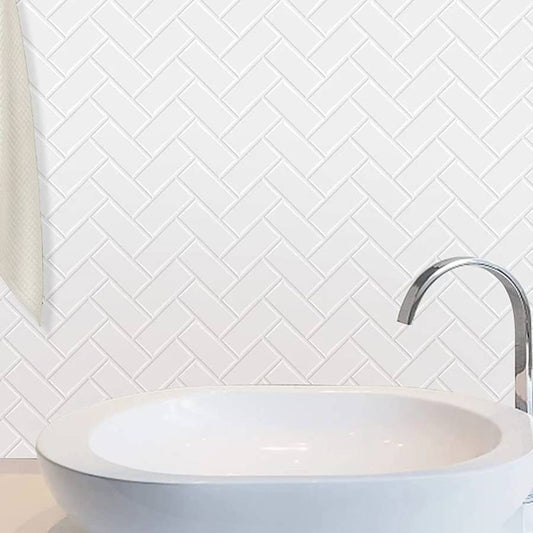
Give your bathroom, kitchen, laundry, or other room in your house a facelift with stunning stick on tiles. Their innovative 3D design will also add style and colour to stairs or furniture by giving the illusion of depth and texture. The three-dimensional designs and details in our range of adhesive tiles will add visual appeal and modern elegance to any surface in your home.
Resistant to the elements
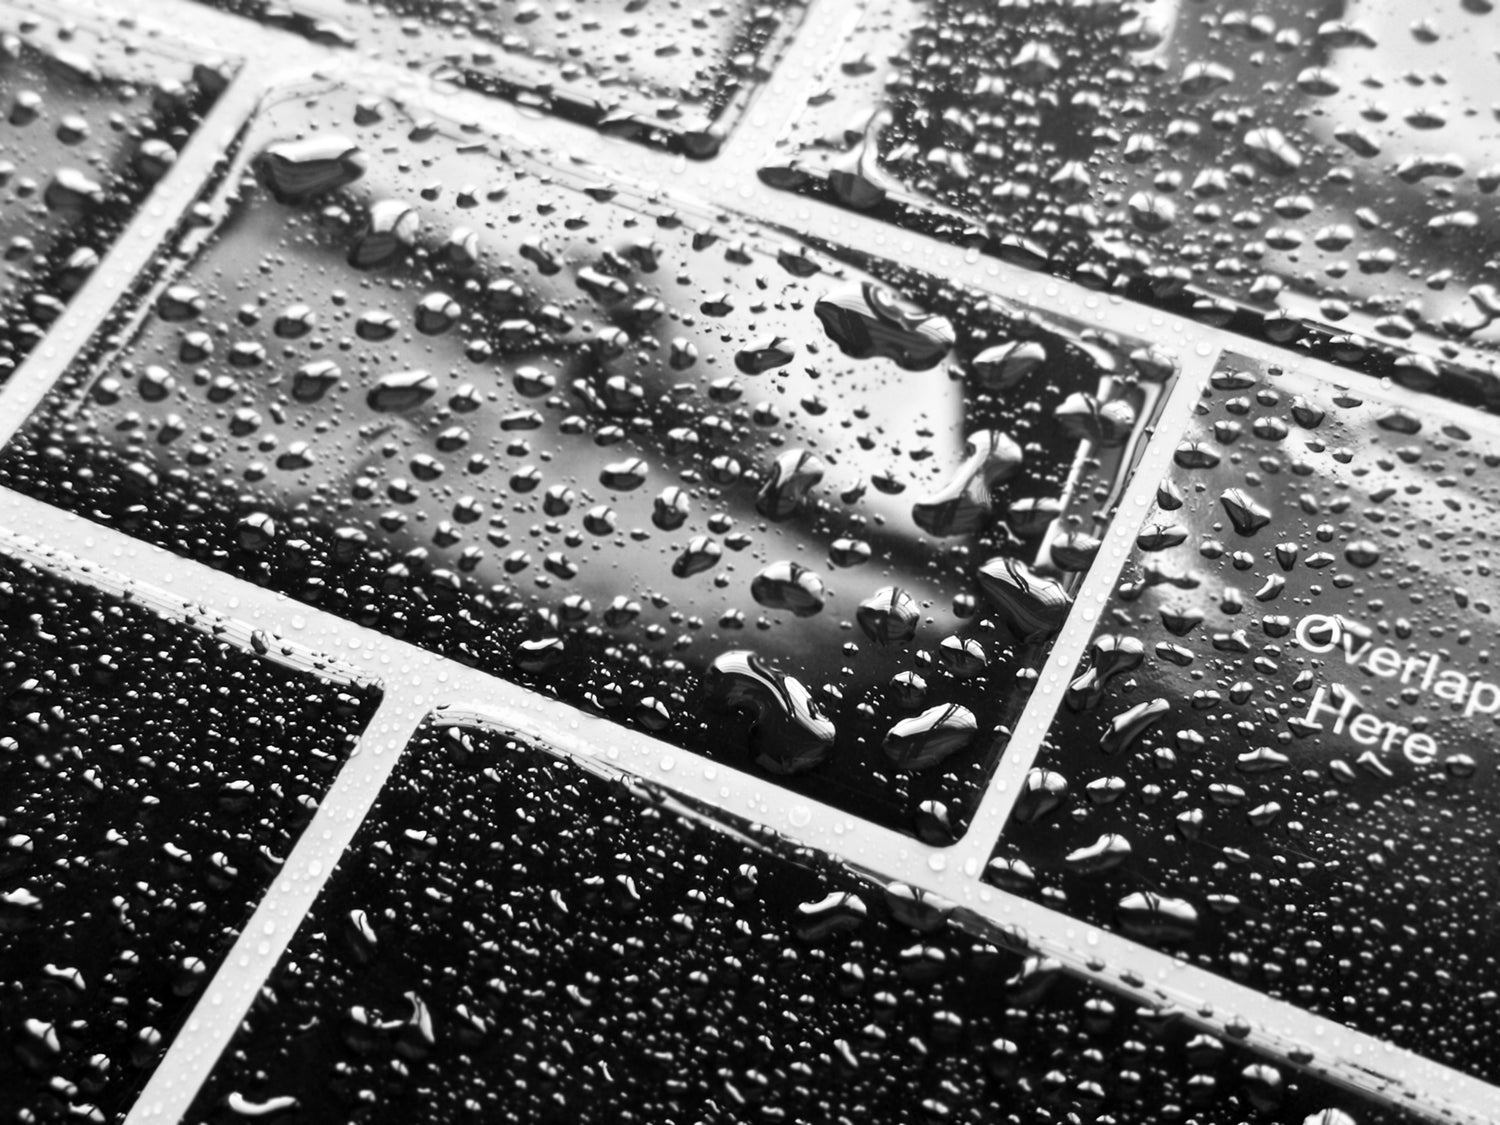
Waterproof
Sticky tiles not only look stunning, but they are also resistant to moisture and heat, which makes them ideal for kitchens, bathrooms, and laundries. The waterproof nature of peel and stick tiles means they’re unaffected by spills and splashes, preventing damage to your wall surfaces.
"Wow!"
Look Amazing
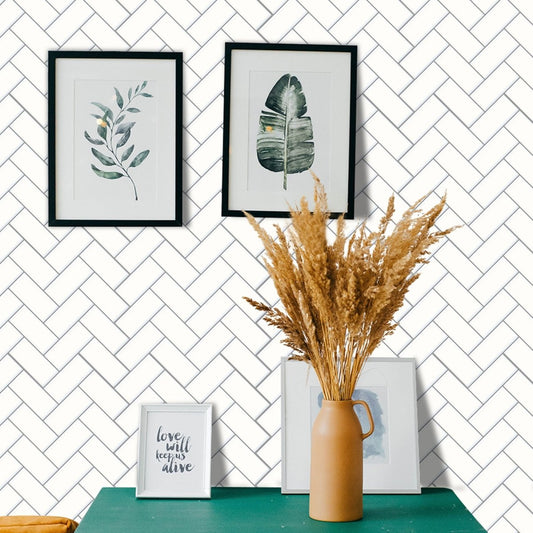
Our sticky tiles come in a wide range of beautiful designs that lift the aesthetic of any space in your home or office. These peel and stick tiles offer a huge selection of styles, patterns, and colours, so you can add your own creative touch quickly and easily. Choices include the striking Chevron, classic Herringbone, or timeless Subway designs.
No matter if you’re looking for a classic, vintage look, or a contemporary minimalist aesthetic, we have a stunning adhesive tile that’s perfect for you. Stick on wall tiles will help transform your dated and dull room into a vibrant and captivating space.
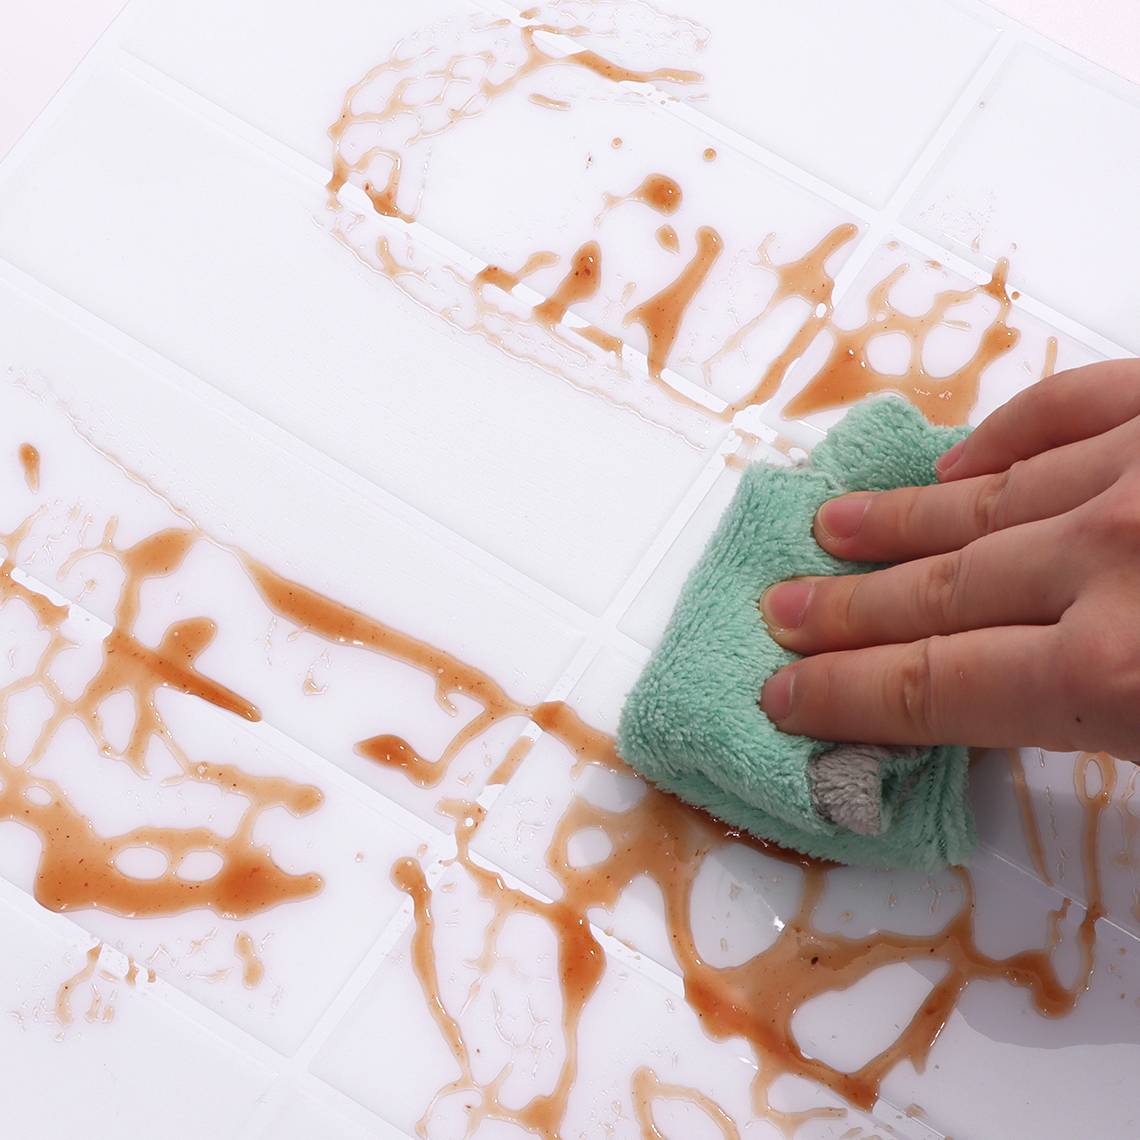
Just wipe them down
Easy to Clean
Our stick on tiles are incredibly easy to clean, which makes them ideal as a practical and low-maintenance choice for covering surfaces in your home. Their surfaces are smooth and non-porous, which repels dirt, stains, and spills and makes them effortless to clean.
A wipe with a damp cloth is usually enough to restore their pristine appearance. This gives stick on tiles an advantage over traditional tiles, as they don’t have grout lines that need scrubbing and regular maintenance.
Where can I use peel and stick tiles?
-
Kitchens
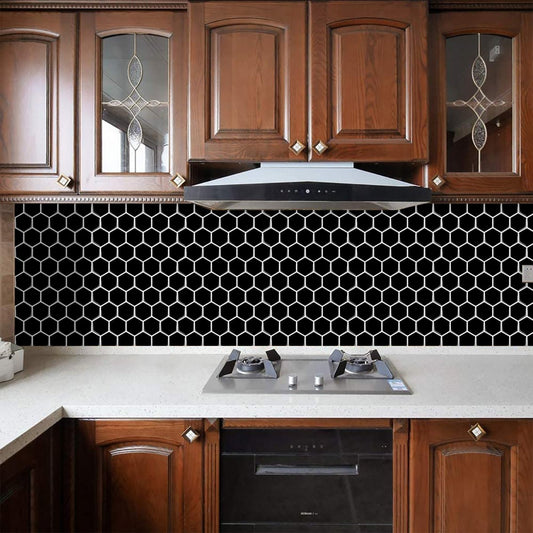
Stick on kitchen tiles are a practical and great-looking choice for kitchens. They are waterproof, which makes them perfect for an environment where moisture, spills, and splashes are common. They are also robust, so you don’t have to worry about water damage or staining. Plus, they come in a wide variety of designs and colours, to suit every aesthetic.
As they’re heat resistant, stick on kitchen tiles can also handle the high temperatures generated by stovetops and ovens without warping or discolouring (as long as they're 20cm away from stove). This makes them a great choice for use as a stick on splashback. Their non-porous surfaces make kitchen tiles easy to clean too. Simply wipe them with a damp cloth to restore their pristine appearance. -
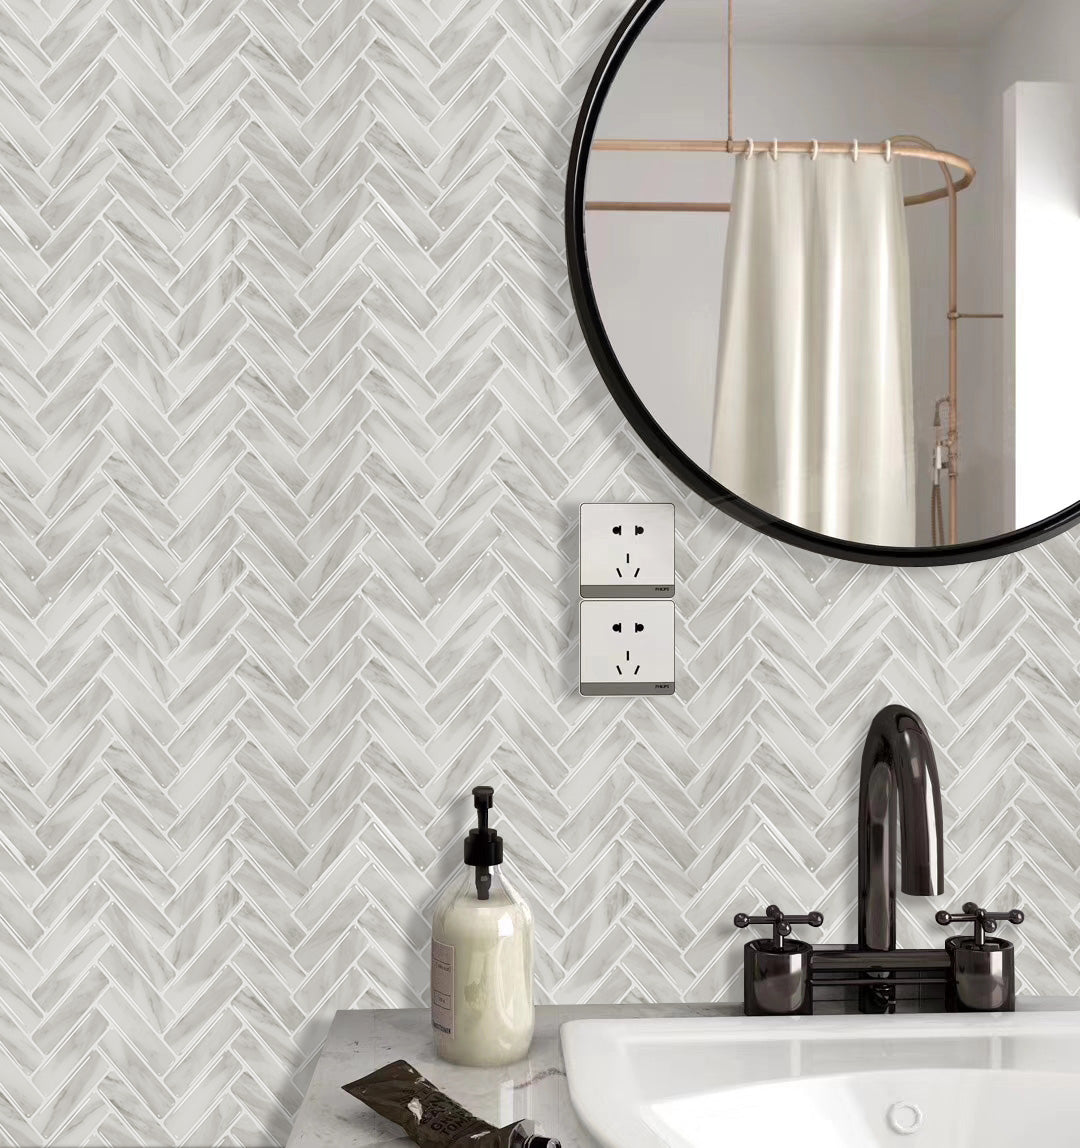
Bathrooms
Stick on bathroom tiles are well-suited for moisture-prone environments. As they are waterproof, they can withstand exposure to moisture without damage or discolouration. Traditional tiles have grout lines that are susceptible to water penetration and mould, however, stick on wall tiles offer a seamless, watertight surface that repels moisture.
Stick on bathroom tiles come in a wide range of designs and styles, allowing you to create a stylish and modern bathroom aesthetic. No matter if you want a sleek and modern look, or one that’s timeless and classic, you’ll find an adhesive tile to suit your taste and décor preference. -
Other Applications
Stick on wall tiles are extremely versatile and they can be used in various ways beyond just traditional wall surfaces. In the laundry, for example, their waterproof and easy-to-clean properties make adhesive tiles an excellent choice. They can withstand water spills, detergent splashes, and high humidity without losing their integrity.
Adhesive tiles can also be used creatively to decorate stairs, furniture, and other surfaces. As they’re self-adhesive, installation is simple and easy for DIY projects. They can also be used to breathe new life into furniture, such as tables, cabinets, and countertops.
FAQs
What are your stick on tiles made from?
Our stick on tiles are made from vinyl, which is a durable and resilient material known for its longevity and ability to withstand wear and tear. This makes adhesive vinyl tiles an excellent choice for high-traffic, high-wear areas like kitchens and bathrooms. Vinyl is also water-resistant, which makes it a good choice for wet environments and it’s easy to clean and maintain.
What surfaces can I apply Sticky Tiles to?
Our stick on tiles can be applied to any smooth, un-textured surfaces like painted plasterboard (drywall), smooth ceramic splashback tiles, and smooth glass splashback tiles. They can also be applied to acrylic wall panels, linoleum walls, glass, mirrors, or wallpaper.
We don’t recommend applying our stick on wall tiles to surfaces that are dusty, uneven or textured. That’s because peel and stick tiles need a smooth surface for the adhesive to stick properly. You shouldn’t apply stick on tiles to stucco walls, unfinished plasterboard, brick or stone walls, or unpainted plywood, amongst others.
We also don’t recommend applying our peel and stick tiles in showers, on countertops, ceilings or floors, or within 20cm of gas stovetops.
How do I install stick on tiles?
While our installation instructions page has a video and more details, here is a summary of the process of installing Sticky Tiles:
- Clean the surface thoroughly with a degreaser.
- Plan before sticking any tiles. Place some tiles over the area without sticking them on and visualise what you want to do. Tiles should be laid from left to right and top to bottom, so start at the top left corner first. Pay attention to where your tiles indicate ‘overlap here’.
- Cut the first tile. Once you’ve planned the layout, measure and cut the first tile. Unless the tile is a square, you will likely need to cut the first tile in a row to make sure it's flush. For the first tile of every row, keep the cut-off remnants, as you may be able to use these pieces to finish the row.
- Lay the first tile. Pay close attention when sticking on the first tile. We recommend peeling about 5cm of the backing and sticking that small area first, making sure it's positioned correctly. Then slowly peel off the rest of the backing and push out any air bubbles as you go.
- Stick on the remaining tiles. Start applying the rest of the tiles, overlapping them where it indicates ‘overlap here’. You will likely need to make cuts at the end of the area. You will also need to cut for any electrical sockets, faucets, or other objects on the wall.
Note: A utility knife is easier than using scissors.
Don’t rush installation, and if you have any questions, don’t hesitate to contact us!
Can I get a sample?
Yes, you can get up to three patterns of sample tiles for just $1, with shipping included. This is a risk-free way of selecting your preferred stick on tiles before you commit. Tell us which three patterns or colours you'd like, and we'll mail them to you. They will be mailed by regular post, so you won't get tracking. They'll show up in your mailbox in 3-6 business days.
How does delivery work?
We offer fast and free shipping on all orders over $49. If your order is under $49, it only costs $9.95 to ship Australia-wide. Unlike some of our competitors, we hold our product in Australia, so you don’t have to worry about duties or taxes.